SO I BUILT MY NEW GAMING DESKTOP
…and it’s awesome.
Here are some photos of the journey to becoming so awesome.
The Parts
I purchased all my parts from PC Case Gear over in Dingley. I simply ordered all my parts online and they came within a few days hassle free and securely wrapped. Couldn’t have been more happy.
Getting Started
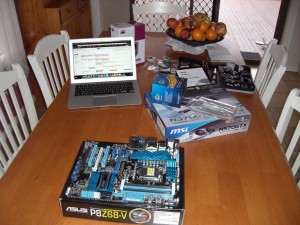
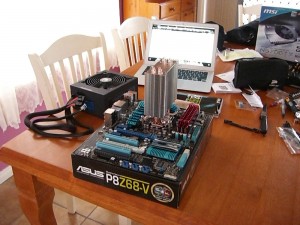
After I unwrapped my goods and stared at them drooling for a somewhat disturbing amount of time I commenced with the test build out of the case. The steps were pretty standard for building a pc so I wont go into any detail but basically this is what I did:
- Get out the motherboard (Asus P8Z68-V)
- Lock in CPU (i7 2600k)
- Apply thermal paste to CPU (Artic Cooling MX-4)
- Attach aftermarket heatsink and fan (Coolermaster Hyper 212+)
- Throw the RAM in there (12gb DDR3 1600 G.Skill Ripjaws)
- Slot in the graphics card (MSI GTX570 Twin Frozr III)
- Connect the PSU (Corsair HX-750)
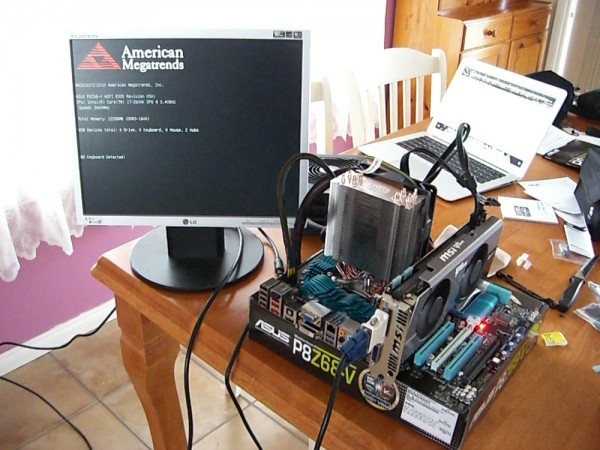
…and the scary part, turning it on the first time. Here is a photo of the first successful boot, nothing fancy but a lot of weight off my shoulders.
Building it in the case
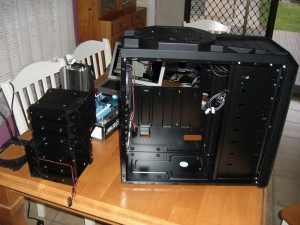
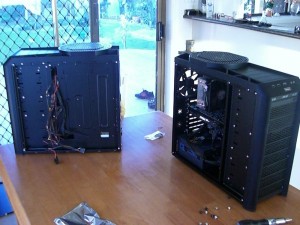
After the successful boot is done its time to move it into my case. (Antec Nine Hundred Two V3)
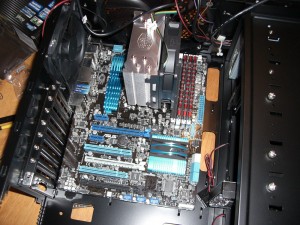
I mounted all the hardrives first and then the motherboard, gpu and finished with the power supply.
Multitasking
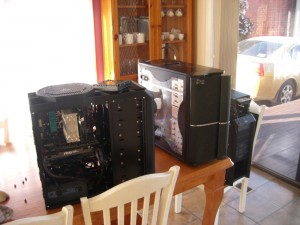
In the process of this build I was also modifying and cannibalising two of my older systems, upgrading hard drives, stealing parts etc. My previous PC which is still quite a kick ass machine now belongs to my little brother.
Cable Management & Finishing Up
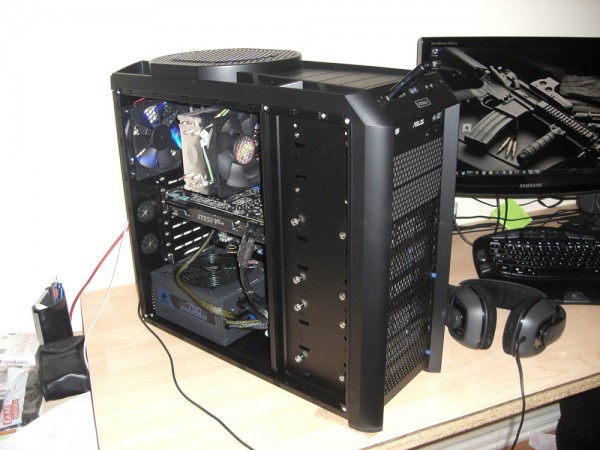
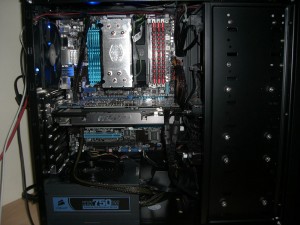
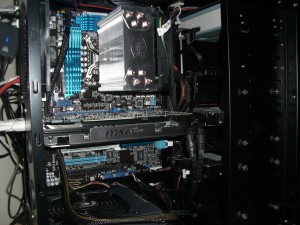
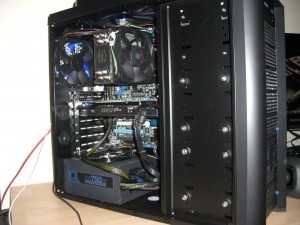
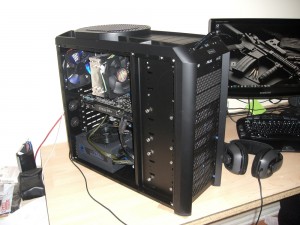
Once all that is done its time to clean up the wiring as much as possible and pack it all up. Here are some shots of my completed system.

COMMENTS (1)
Sussed it!